Tutorial 3 — A Tour of Joints
Goal: meet the three workhorse joints — Revolute, Prismatic, and Spherical — by attaching each to the same body and watching how differently it moves. You'll build an intuition for the single most important idea in multibody dynamics: a joint is defined by the freedom it leaves, not the parts it connects.
Time: ~15 minutes · Prerequisites: Tutorial 2 (you can add a body, add a joint to ground, set a pivot and axis, Solve, and play back), signed in to BriskFyr in your browser.
Concept — joints remove degrees of freedom
A free rigid body has 6 degrees of freedom (DOF): 3 translations (X, Y, Z) and 3 rotations. A joint takes some of those away and leaves the rest. What's left is the motion the joint allows:
| Joint | DOF removed | DOF left | The motion it allows |
|---|---|---|---|
| Revolute (hinge) | 5 | 1 rotation | spins about one axis only — a door hinge |
| Prismatic (slider) | 5 | 1 translation | slides along one line only — a drawer runner |
| Spherical (ball) | 3 | 3 rotations | rotates freely about a fixed point — a hip joint |
We'll attach each one to the same offset body and see exactly these motions. (Counting DOF this way — 6 per body, minus what each joint removes — is how engineers check a mechanism can move before they ever run it; it's called a Grübler / mobility count.)
Set up the test body
1. Build one raised, offset body
Add a Node (Build ▸ Node) and set its Position to X = 0.5, Y = 0, Z = 2. Add a Rigid Body on it (Build ▸ Rigid Body, 1 kg).
Expected: a 1 kg body sits 2 m up and 0.5 m to one side of the origin. That 0.5 m sideways offset is the moment arm — it's what lets a hinge or ball swing (a body sitting on its pivot has nothing to swing about, as you saw in Tutorial 2).
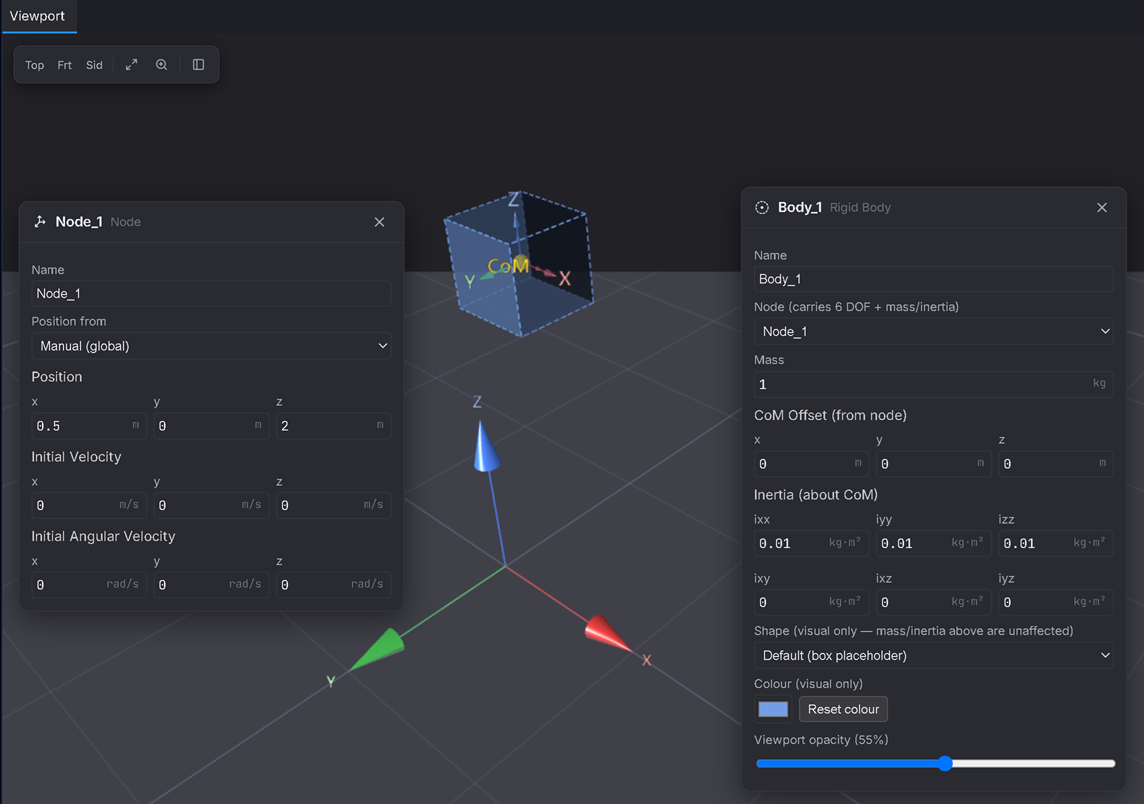
We'll now attach three different joints to this same body, one at a time, each anchored to ground at (0, 0, 2) — directly above the origin, level with the body.
Joint 1 — Revolute (a hinge: 1 rotation)
2. Add a Revolute and aim it
Add a Revolute (Joints ▸ Revolute) — it connects Body_1 to Ground. In the Inspector set:
1. Pivot (global) → (0, 0, 2) — move the hinge to the anchor point, 0.5 m in from the mass.
2. Hinge axis → (0, 1, 0) — horizontal (along Y), so gravity can swing it. (A fresh Revolute defaults to a vertical axis (0, 0, 1), which wouldn't swing — same crux as Tutorial 2.)
3. Solve and watch
Set the run (Solve tab ▸ Duration 3 s, Time step 0.01 s) and Solve. Play it back.
Expected: the body swings down and up in the X–Z plane only, like a falling arm hinged at (0, 0, 2). It cannot move sideways (Y) and cannot twist — the hinge permits exactly one rotation.
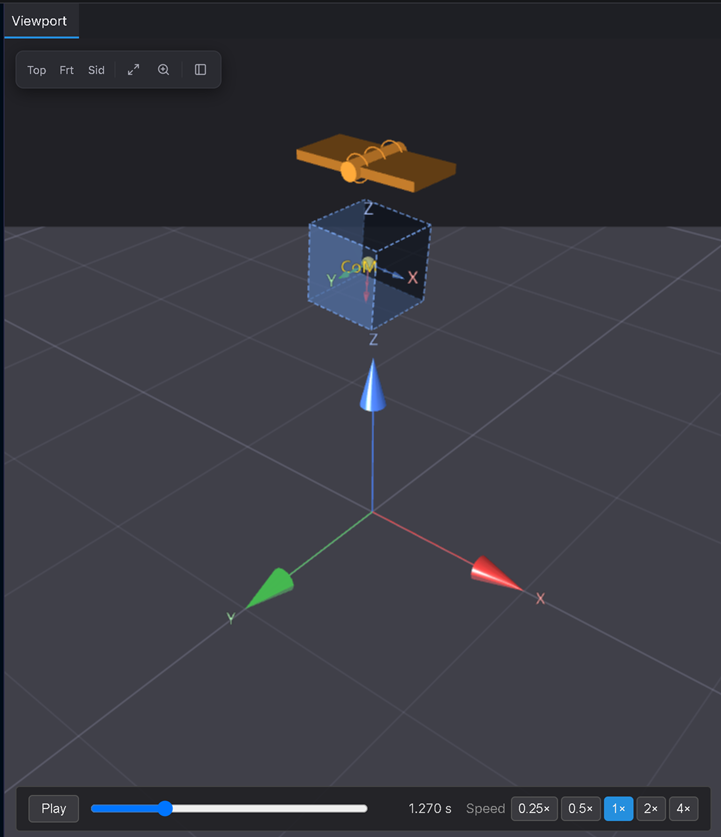
4. See what the joint carries
Turn on the reaction overlay for the joint (select the Revolute; the reaction force/torque arrows appear at the pivot). Scrub through the swing.
Expected: an arrow at the hinge shows the reaction force the joint must supply to hold the body on its circular path — largest at the bottom of the swing (where the body is moving fastest). This is the load a real bearing at that hinge would feel.
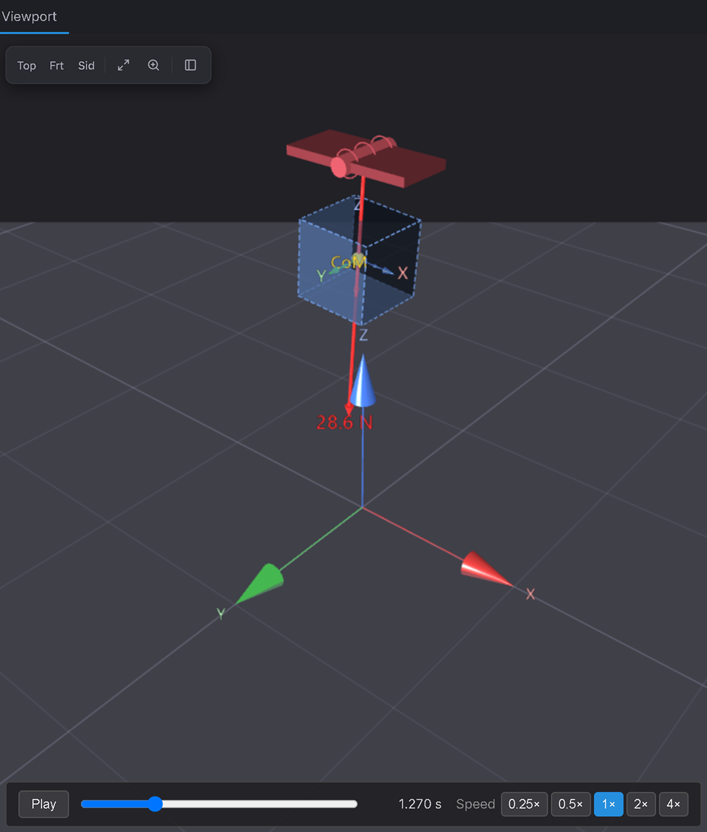
Joint 2 — Prismatic (a slider: 1 translation)
5. Swap the hinge for a slider
Delete the Revolute (select it in the Inspector, delete). Add a Prismatic (Joints ▸ Prismatic) on Body_1 to Ground. Set its Pivot (global) → (0.5, 0, 2) (leave it at the body) and leave the Axis = (0, 0, 1) (vertical — the default is exactly what we want here).
6. Solve and watch
Solve again (same run settings).
Expected: the body slides straight down along the vertical axis and does not swing, tilt, or drift sideways. Gravity pulls it along the one direction the slider allows; every other DOF is locked. Compare with Tutorial 1's free fall — same downward motion, but now the joint forbids all rotation and sideways drift.
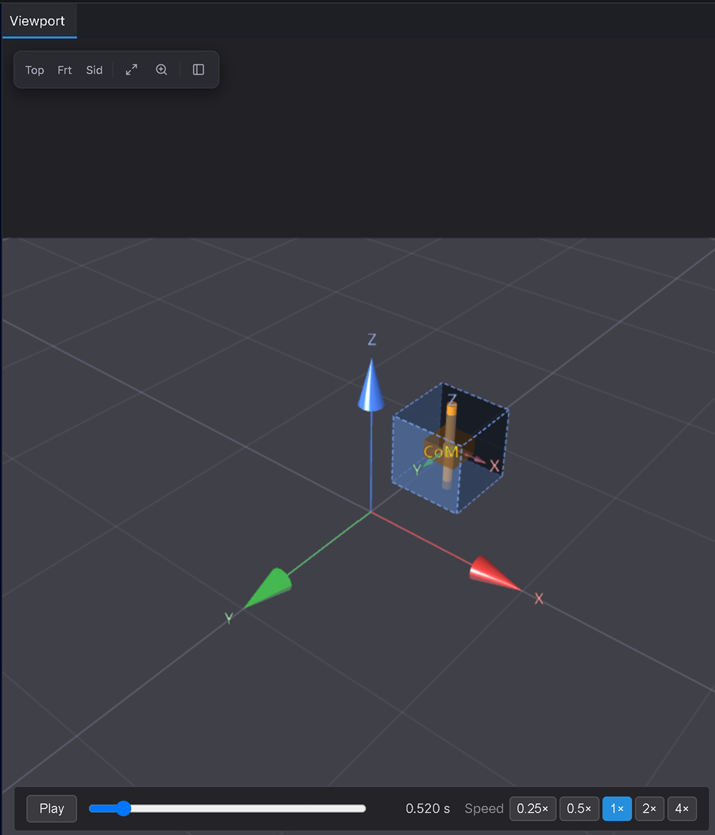
Try this: change the prismatic Axis to (1, 0, 0) (horizontal) and re-Solve — now the body doesn't move at all, because gravity (−Z) is perpendicular to the only direction it's allowed to slide. A slider only moves if a force has a component along its axis.
Joint 3 — Spherical (a ball: 3 rotations)
7. Swap in a ball joint
Delete the Prismatic. Add a Spherical (Joints ▸ Spherical) on Body_1 to Ground, and set its Pivot (global) → (0, 0, 2) (back to the anchor, like the hinge). A spherical joint has no axis — that's the point.
8. Solve and watch
Solve again.
Expected: the body swings from the fixed pivot much like the hinge did — but it is free to rotate in any direction, not locked to one plane. The pivot point itself never moves (all 3 translations are removed), while all 3 rotations remain.
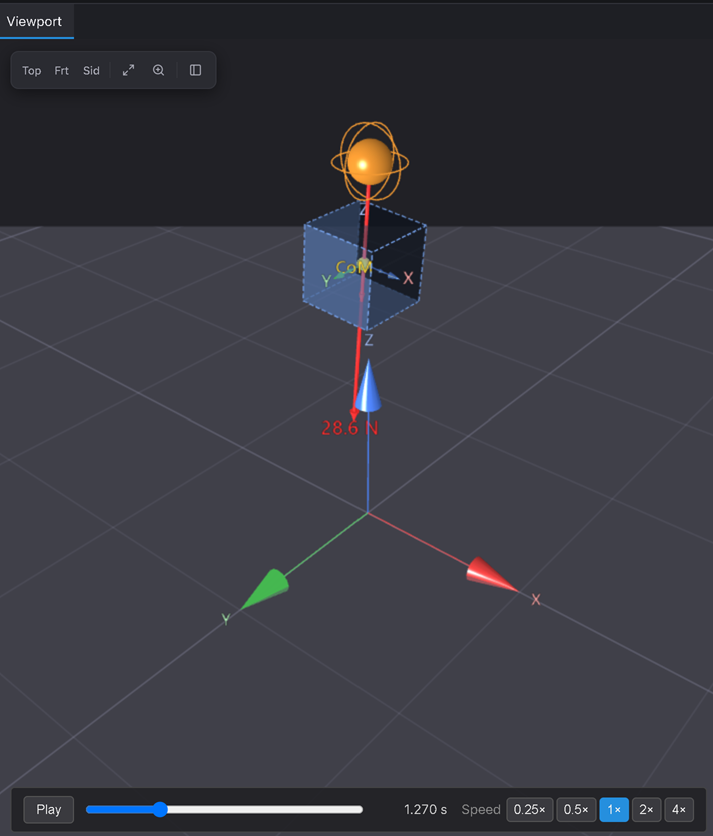
Try this: give the mass node a small sideways initial velocity (e.g. Y = 0.5 m/s in the node's Initial velocity field) and re-Solve — the body now traces a cone / ellipse instead of a flat arc. A revolute could never do that; a spherical joint's three rotational DOF can.
Verifiable outcome
You attached three joints to one body and got three distinct motions, each matching its DOF:
- Revolute → swings in one plane about one axis (1 rotational DOF).
- Prismatic → slides along one line, no rotation (1 translational DOF).
- Spherical → rotates freely about a fixed point (3 rotational DOF).
That's the whole mental model: pick the joint whose leftover freedom is the motion you want.
The rest of the library, in one line: BriskFyr's other joints are combinations of these — Cylindrical = revolute + prismatic on the same axis (slide and spin, 2 DOF), Planar = free to move in a plane (3 DOF), Fixed/Weld = all 6 removed (rigidly locked, like a Clamp between two bodies). You'll meet them in the joints deep-dive; the three here cover the vast majority of real mechanisms.
Troubleshooting
- The Revolute won't swing → its axis is still vertical
(0, 0, 1). Set Hinge axis = (0, 1, 0) (Step 2). Same trap as Tutorial 2. - The Prismatic body doesn't move → its axis is horizontal, perpendicular to gravity. Set Axis = (0, 0, 1) to let it fall along the slot (Step 5).
- A joint button is greyed out → you need a Body first (Step 1), and the previous joint should be deleted before adding the next (we're reusing the one body).
- The body flies off / behaves wildly → check the pivot is at (0, 0, 2) for the hinge and ball (not left at the body); a mismatched pivot can over-constrain or fling the body.